Introduction
Temperature is the single variable that decides whether food and beverages stay safe or turn dangerous. Get the time-and-temperature relationship wrong, even briefly, and bacteria that cause foodborne illness can double in number in as little as 20 minutes.
The stakes are real. Between 2017 and 2019, the CDC identified 800 foodborne illness outbreaks tied to retail food establishments. Temperature-related failures—like improper cooling and malfunctioning cold-holding equipment—ranked among the most common contributing factors.
Poor monitoring doesn't just risk illness. It leads to spoiled inventory, failed audits, and regulatory recalls that can shut down a production line for weeks.
This guide walks through the tools you need, three practical monitoring methods, how to read your results correctly, and the mistakes that trip up even experienced food safety teams.
Key Takeaways
- Hold cold food at or below 41°F/5°C and hot food at or above 135°F/57°C; everything between is the danger zone
- Use calibrated probe thermometers for spot checks and automated PDF data loggers for continuous records
- Method choice depends on precision, continuity, and how much documentation regulators expect
- A reading's meaning (normal, minor deviation, discard) hinges on how long food sat in the danger zone
- Most monitoring failures trace back to bad probe placement, skipped calibration, or rushed readings
What You Need to Monitor Food and Beverage Temperature
An inaccurate reading is worse than no reading at all. It creates false confidence. A thermometer that's off by even a few degrees, or a probe inserted in the wrong spot, can tell you food is safe when it isn't. Picking the right tool and the right measuring point matters as much as taking the reading itself.
Tools and Indicators Required
Different operations need different levels of precision and documentation. The core toolkit includes:
- Calibrated digital probe thermometer — for spot-checking food core temperature
- Infrared thermometer — for quick surface reads without contact (useful for checking equipment, not food core temp)
- Chart recorder — for continuous mechanical tracking in retorts, ovens, and walk-in coolers
- Bluetooth or PDF-based data loggers — for automated, timestamped digital records
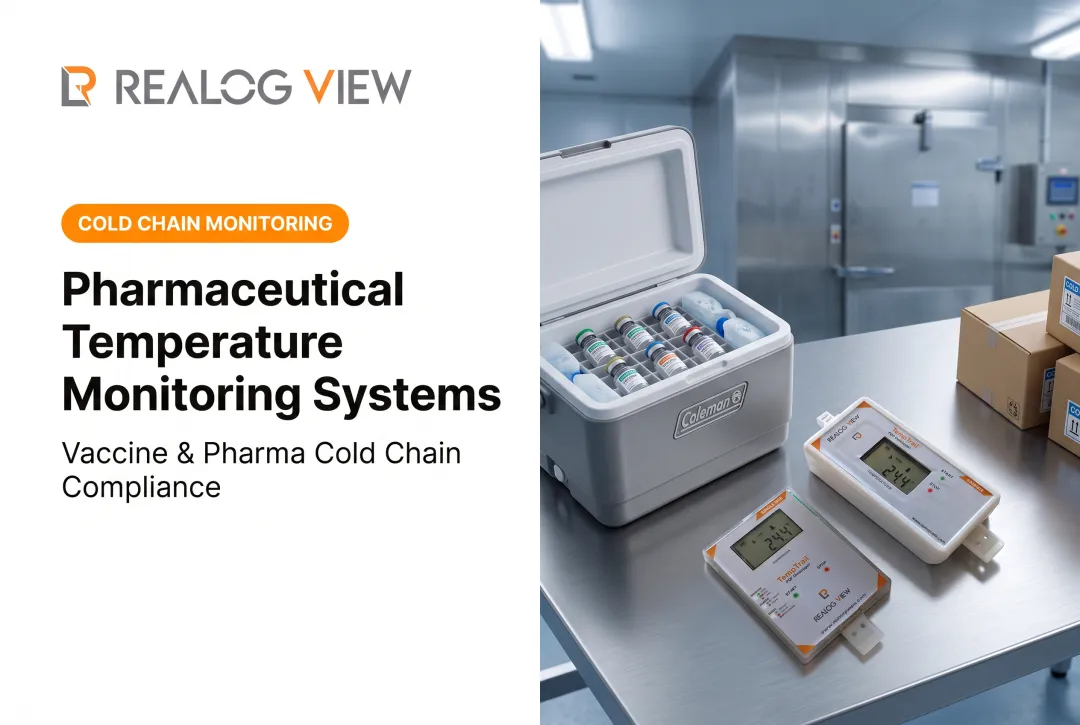
Food processors that need FDA 21 CFR Part 11-compliant, tamper-proof records often use software-free PDF data loggers—no extra hardware or software required.
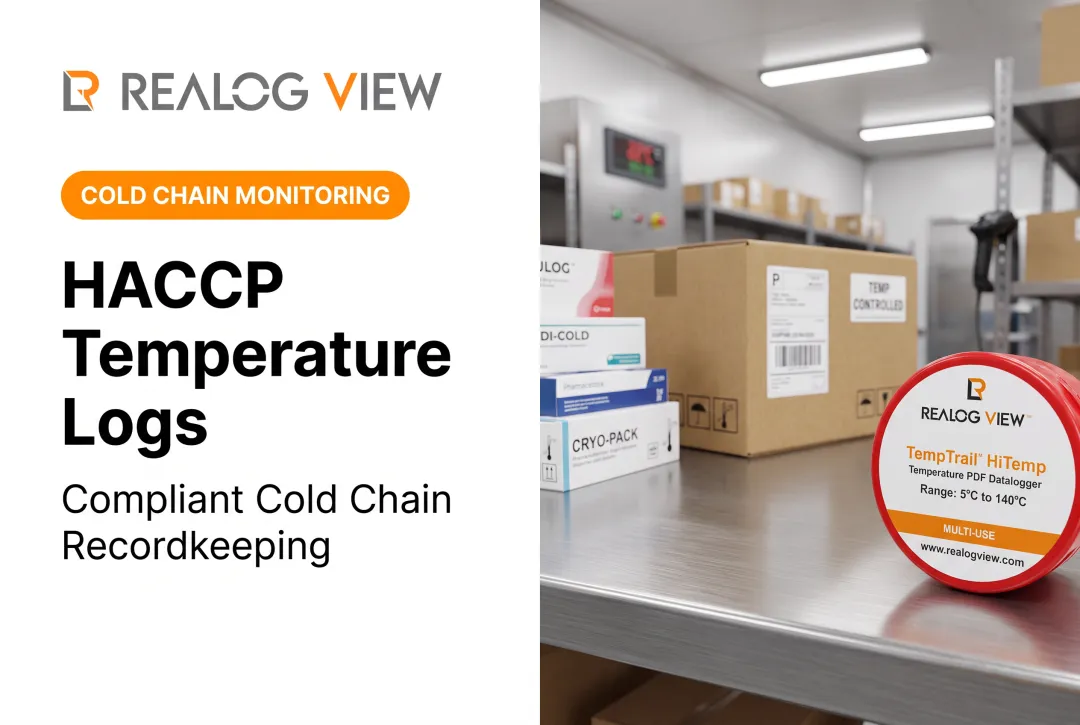
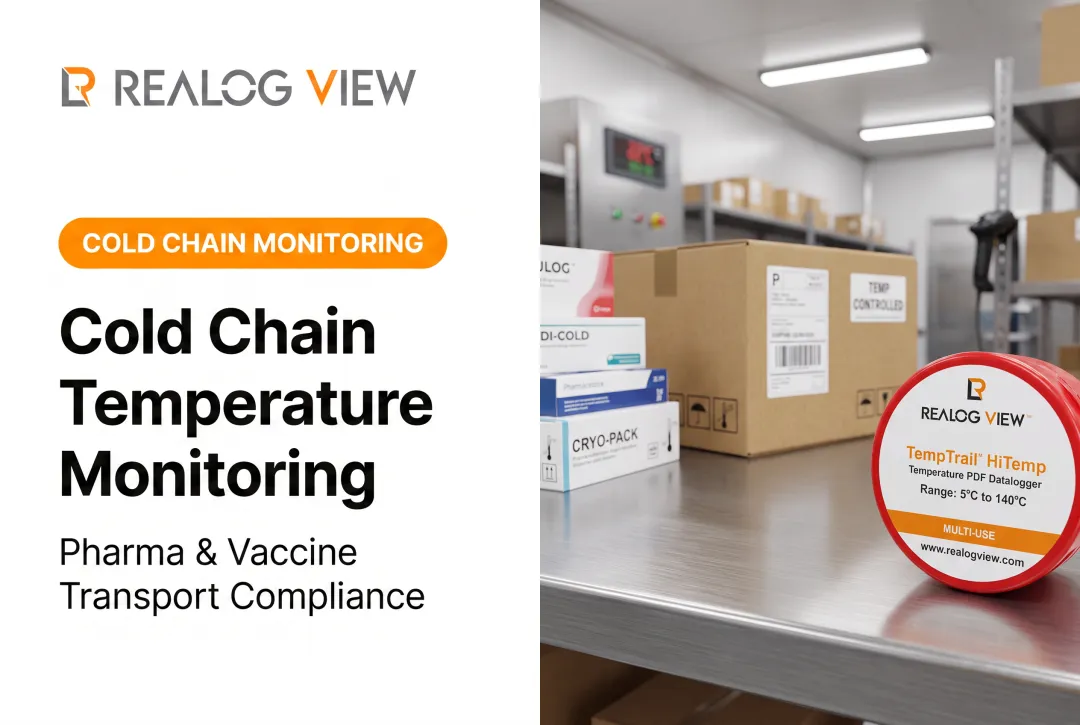
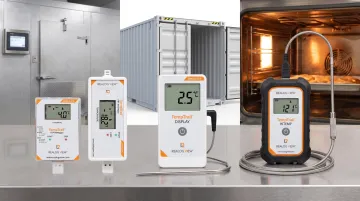
Realog View's TempTrail Classic, XL, Display, and Humidity & Display models cover the −30°C to +70°C range typical of food cold-chain work. The TempTrail HiTemp (+5°C to +140°C, IP68 rated) suits high-heat processing and autoclave validation.
Preconditions and Setup
Before any reading counts as reliable, meet three conditions:
- Identify the right check location. In a cold unit, check the warmest point (near the door or top shelf). In a hot-holding unit, check the coldest point—not the most convenient spot.
- Verify calibration first. Confirm accuracy against a reference standard. An ice-point check (32°F/0°C) is the industry baseline, and keep traceable calibration records on file.
- Stabilize the reading and sanitize between uses. Wait for the display to settle before you record. Sanitize probes between raw and ready-to-eat foods to prevent cross-contamination.
Methods to Monitor Food and Beverage Temperature
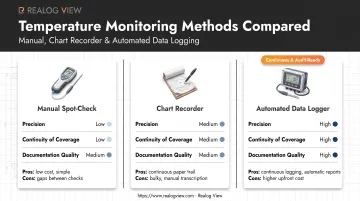
Which method fits your operation depends on three things:
- How precise you need to be
- Whether you need continuous coverage or only periodic checks
- How much documentation an auditor or regulator expects to see
Method 1: Manual Spot-Check with a Calibrated Thermometer
This is the fastest way to get a single-point reading using a handheld probe or infrared thermometer.
What you need: Digital probe thermometer, sanitizing wipes.
Steps:
- Clean and sanitize the probe before inserting it.
- Insert it into the thickest or center part of the food, or the warmest/coldest zone if checking a unit.
- Wait for the reading to stabilize before recording it.
Pros: Cheap, fast, no setup required. Cons: One moment in time only; results depend on staff doing checks consistently.
Method 2: Chart Recorders and Manual Logging
Chart recorders provide a continuous mechanical or paper record of temperature over time. They're common in retorts, industrial ovens, and walk-in coolers.
What you need: Recorder chart, ink/pen, calibrated sensor.
Steps:
- Install and calibrate the sensor at the monitoring point.
- Check the chart at regular intervals, signing and timestamping each entry.
- Replace ink or chart paper and archive records per your retention policy.
Pros: Builds a continuous historical record. Cons: Prone to human error, ink failures, and, in worse cases, falsified entries.
The risk isn't theoretical. FDA low-acid canned food rules expect continuous retort temperature records, not a single reading per batch. Plants that rely on spot logs alone have drawn warning letters and shipping holds until continuous recording was in place.
Method 3: Automated Digital/PDF Data Loggers
These standalone electronic sensors record temperature (and sometimes humidity) at set intervals. They produce tamper-proof, timestamped digital records without someone checking a dial every hour.
What you need: A data logger device. Realog View's software-free PDF loggers, for example, use built-in sensors and user-configurable alarms, then generate reports automatically.
Steps:
- Configure the logging interval, alarm thresholds, and measurement units. On Realog View's reusable HiTemp model, intervals can be set anywhere from every 5 seconds to every 24 hours.
- Place the logger at the critical monitoring point: inside a storage unit, transport container, or on the processing line.
- Retrieve the logger after the monitoring period and connect it via USB. The device generates a PDF and CSV report automatically, no external software or probes required.
Pros: Highest accuracy, continuous coverage, and audit-ready documentation. Ideal for FDA-regulated cold chain applications. Cons: Higher upfront cost than a $30 probe thermometer, though it typically pays for itself by cutting labor hours and spoilage losses over time.
How to Interpret the Results
Reading a thermometer is easy. Knowing what the number means for your product is where mistakes happen, and where the gap between "safely served" and "recalled" opens up.
| Reading Status | What It Looks Like | Required Action |
|---|---|---|
| Normal | Steady at ≤41°F/5°C (cold) or ≥135°F/57°C (hot) | Continue normal storage, transport, or service |
| Minor deviation | Brief excursion into the danger zone within a short window | Use immediately, return to correct temp, or document the deviation |
| Out-of-spec | Held in the danger zone beyond the max allowable time, or sustained equipment failure | Discard product, investigate root cause, notify QA |
That "short window" isn't arbitrary. Under FDA Food Code time-as-a-public-health-control rules, TCS food held between 41°F/5°C and 135°F/57°C may be kept for up to 4 hours if it is served or discarded afterward. Past that limit, the product must be thrown out.
Time is cumulative: every minute outside safe holding counts, whether during prep, storage, or transport.
These aren't just internal guidelines. They're the basis for HACCP critical limits and corrective action procedures. A HACCP plan sets a critical limit (for example, 41°F/5°C). A deviation triggers a documented three-part response:
- Fix the root cause
- Decide the fate of the affected product
- Record the action taken
Common Errors and Safety Best Practices
Most temperature monitoring failures come from process mistakes, not broken equipment. The same handful of errors shows up across different operations.
Common Errors in Temperature Monitoring
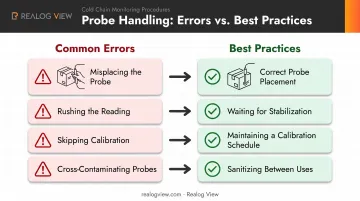
- Misplacing the probe: checking surface temperature instead of the food's core, or the wrong zone in a unit
- Rushing the reading: pulling the probe before it stabilizes gives a false sense of security
- Skipping calibration: an uncalibrated thermometer can be off by several degrees without anyone noticing
- Cross-contaminating probes: using the same unsanitized probe on raw and ready-to-eat food
Safety and Best Practices
Fixing these issues comes down to a few habits done consistently:
- Keep a calibration schedule with traceable records checked against a reference standard, such as an ice-point check.
- Clean and sanitize probes and loggers between uses — every time, not just when it's convenient.
- Record results the moment you observe them. Transcribing from memory later invites errors and, in audits, raises suspicion.
- Follow a documented corrective action procedure for every deviation, no matter how minor it seems.
Conclusion
Accurate, consistent temperature monitoring is the foundation everything else in food safety rests on. Skip it, and quality control and regulatory compliance both fall apart.
The right method depends on your risk level and how much documentation your auditors expect. A manual spot-check might be fine for a small café; a canned food processor running a retort needs continuous, tamper-proof records. Automated PDF-based data loggers turn spot-checks into a defensible, audit-ready record. That record matters the day an inspector, or a lawyer, asks you to prove what happened.
Frequently Asked Questions
Does HACCP require temperature monitoring?
Yes. HACCP requires temperature monitoring at critical control points like cooking, cooling, and holding. Continuous or frequently recorded checks show the process stayed in control.
What is the 2 hour / 4 hour rule for food safety?
Potentially hazardous food held in the danger zone for under 2 hours can be refrigerated or used. Between 2 and 4 hours, it must be used immediately. Beyond 4 hours, it must be discarded.
What is the temperature danger zone for food?
Under the FDA Food Code, it is 41°F to 135°F (5°C to 57°C). In this range, foodborne bacteria multiply fastest.
How often should food temperature be checked?
Manual checks are typically done every 2 to 4 hours. Automated data loggers record continuously, filling gaps between those checks.
What is the most accurate way to monitor food and beverage temperature?
Calibrated automated data loggers. They offer continuous, tamper-proof records that are more reliable than periodic manual spot-checks.
Do temperature data loggers need to be calibrated?
Yes. Loggers should be checked periodically against a traceable reference standard so readings stay accurate for audits and compliance.